


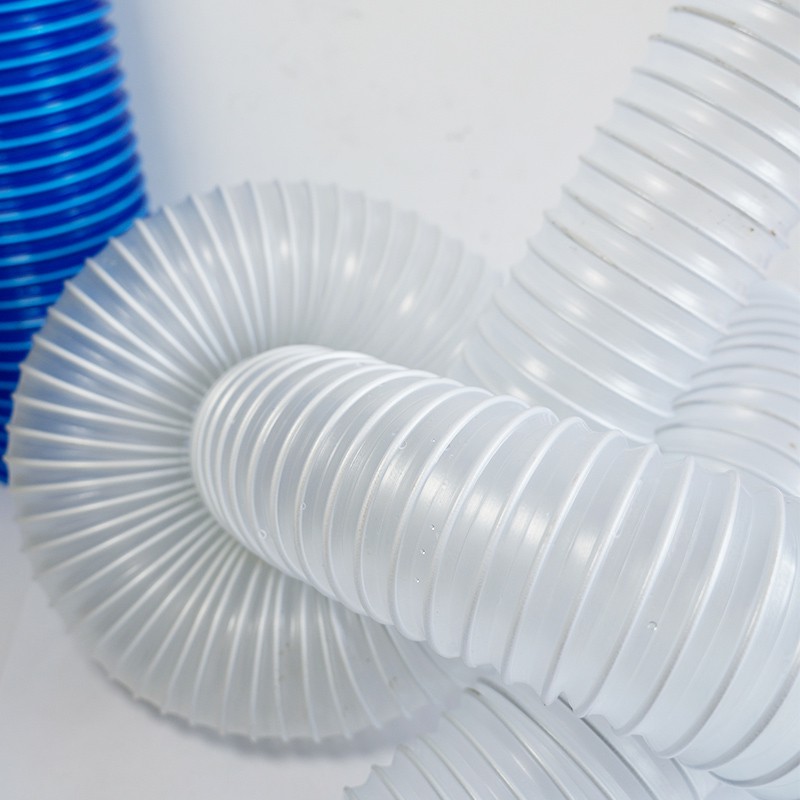
Hey there! I'm a supplier of Transparent PVC Hose, and I've seen my fair share of damaged hoses over the years. Whether it's a small puncture or a more significant tear, a damaged hose can be a real pain in the neck. But don't worry, I'm here to share some tips on how to repair a damaged transparent PVC hose.
Assessing the Damage
The first step in repairing a damaged PVC hose is to assess the extent of the damage. Is it a small hole, a large tear, or something in between? This will help you determine the best repair method.
- Small Holes: If you've got a small hole in your hose, you're in luck. These are usually the easiest to fix. You can often patch them up with a simple PVC patch kit. These kits typically come with a patch and an adhesive that's designed to bond with PVC.
- Large Tears: Larger tears are a bit more challenging. You might need to use a more substantial repair method, like using a PVC coupling or a piece of replacement hose.
Gathering Your Tools
Once you've assessed the damage, it's time to gather your tools. Here's what you'll need:

- PVC Patch Kit: As mentioned earlier, this is great for small holes.
- PVC Cement: If you're using a coupling or replacing a section of the hose, you'll need PVC cement to bond the pieces together.
- Utility Knife: This will come in handy for cutting the hose and the patch.
- Sandpaper: You'll need to sand the area around the damage to ensure a good bond.
- Measuring Tape: To measure the length of the replacement hose or coupling.
Repairing Small Holes
Let's start with the easiest repair: fixing small holes.
- Clean the Area: Use a clean cloth to wipe the area around the hole. Make sure it's free of dirt, dust, and any debris.
- Sand the Area: Take your sandpaper and gently sand the area around the hole. This will help the adhesive in the patch kit stick better.
- Apply the Patch: Follow the instructions on the PVC patch kit. Usually, you'll need to apply the adhesive to the patch and then press it firmly onto the hole. Make sure to smooth out any air bubbles.
- Let it Dry: Give the patch plenty of time to dry. This could take anywhere from a few hours to a full day, depending on the product you're using.
Repairing Large Tears
If you're dealing with a large tear, you'll need to take a different approach.
- Cut Out the Damaged Section: Use your utility knife to carefully cut out the damaged section of the hose. Make sure to cut straight and clean.
- Measure and Cut the Replacement: Use your measuring tape to measure the length of the section you just cut out. Then, cut a piece of replacement hose to the same length.
- Prepare the Ends: Sand the ends of the remaining hose and the replacement piece. This will help the PVC cement bond better.
- Apply the PVC Cement: Apply a thin layer of PVC cement to the ends of the remaining hose and the replacement piece.
- Join the Pieces: Quickly join the pieces together and hold them in place for a few seconds. Make sure they're aligned properly.
- Let it Cure: Give the PVC cement plenty of time to cure. This could take up to 24 hours.
Using a PVC Coupling
Another option for repairing a damaged hose is to use a PVC coupling. This is a great option if the damage is in the middle of the hose.
- Cut Out the Damaged Section: Just like with the replacement method, use your utility knife to cut out the damaged section.
- Measure and Select the Coupling: Measure the diameter of your hose and select a coupling that matches. Make sure the coupling is long enough to cover the gap.
- Prepare the Ends: Sand the ends of the remaining hose and the inside of the coupling.
- Apply the PVC Cement: Apply PVC cement to the ends of the hose and the inside of the coupling.
- Insert the Hose into the Coupling: Carefully insert the ends of the hose into the coupling and hold them in place for a few seconds.
- Let it Cure: Again, give the PVC cement time to cure.
Preventing Future Damage
Now that you've repaired your hose, you'll want to take steps to prevent future damage. Here are some tips:
- Proper Storage: Store your hoses in a cool, dry place. Avoid leaving them in direct sunlight for extended periods, as this can cause the PVC to degrade.
- Regular Inspections: Check your hoses regularly for signs of wear and tear. Catching small issues early can prevent them from becoming big problems.
- Use Protective Covers: If your hose is going to be exposed to harsh conditions, consider using a protective cover.
Conclusion
Repairing a damaged transparent PVC hose doesn't have to be a daunting task. With the right tools and a little know-how, you can get your hose back in working condition in no time.
If you're in the market for high-quality Transparent PVC Hose, Industrial Ventilation Dust Hose, or PVC Dust Collection Hose, I'd love to talk to you. We offer a wide range of PVC hoses that are durable, reliable, and built to last. Contact us to discuss your needs and let's get you the perfect hose for your application.
References
- PVC Hose Installation and Maintenance Guide
- DIY PVC Hose Repair Manuals