


Hey there! As a supplier of PVC hoses, I've seen firsthand how important it is to know how to install PVC hose fittings properly. Whether you're a DIY enthusiast or a professional in the field, getting the installation right can save you a lot of headaches down the line. In this blog post, I'm going to walk you through the process of installing PVC hose fittings step by step.

What You'll Need
Before you start the installation process, you'll need to gather a few tools and materials. Here's a list of what you'll typically need:
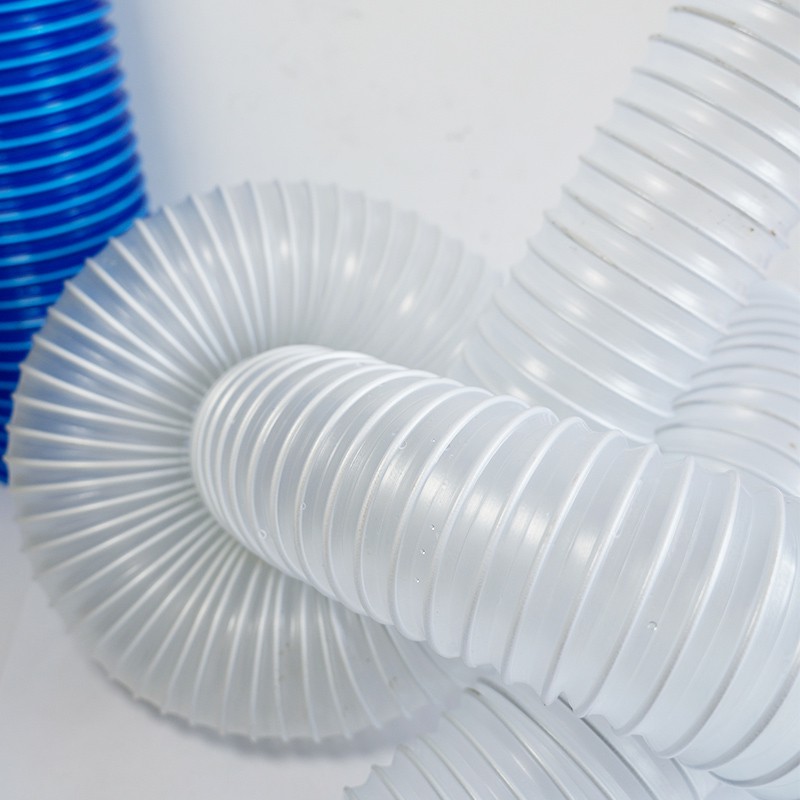
- PVC hoses: You can choose from different types of PVC hoses depending on your needs, such as PVC Dust Collection Hose, PVC Retractable Vacuum Hose, or PVC Air Duct Hose.
- PVC hose fittings: These come in various shapes and sizes, including couplings, elbows, tees, and adapters. Make sure you select the right fittings that match the size and type of your PVC hoses.
- Hose clamps: These are used to secure the fittings to the hoses. You can choose from different types of hose clamps, such as screw clamps or spring clamps.
- A utility knife: This will be used to cut the PVC hoses to the desired length.
- Sandpaper or a deburring tool: This is used to smooth the edges of the cut hoses.
Step 1: Measure and Cut the Hoses
The first step in installing PVC hose fittings is to measure and cut the hoses to the appropriate length. Use a measuring tape to determine the length you need, and then mark the hose with a pen or marker. Next, use a utility knife to cut the hose along the marked line. Make sure to cut the hose straight and cleanly to ensure a proper fit with the fittings.
After cutting the hose, use sandpaper or a deburring tool to smooth the edges of the cut. This will prevent any sharp edges from damaging the hose or the fittings and will also help create a better seal.
Step 2: Prepare the Fittings
Once you have cut the hoses to the right length, it's time to prepare the fittings. Start by inspecting the fittings for any damage or defects. Look for cracks, chips, or rough edges that could affect the performance of the fittings. If you notice any issues, replace the fittings with new ones.
Next, clean the inside of the fittings with a clean cloth to remove any dirt, debris, or grease. This will ensure a good seal between the fittings and the hoses. You can also apply a small amount of PVC primer to the inside of the fittings to help the glue bond better.
Step 3: Apply the Glue
Now it's time to apply the PVC glue to the fittings and the hoses. Make sure you use a PVC glue that is specifically designed for use with PVC hoses and fittings. Apply a thin, even layer of glue to the outside of the hose and the inside of the fitting. Make sure to cover the entire surface area where the hose and the fitting will be joined.
After applying the glue, quickly insert the hose into the fitting and twist it a quarter turn to spread the glue evenly. Hold the hose and the fitting in place for a few seconds to allow the glue to set. Be careful not to over-tighten the fitting, as this could cause the glue to squeeze out and create a messy joint.
Step 4: Secure the Fittings with Hose Clamps
Once the glue has set, it's time to secure the fittings with hose clamps. Place the hose clamp around the hose where it meets the fitting and tighten the clamp using a screwdriver or a pair of pliers. Make sure the clamp is tight enough to prevent the hose from slipping out of the fitting, but not so tight that it damages the hose.
Check the tightness of the clamp by gently pulling on the hose. If the hose moves or slips, tighten the clamp a little more. Repeat this process for all the fittings on the hoses.
Step 5: Test the Installation
After you have installed all the PVC hose fittings and secured them with hose clamps, it's time to test the installation. Turn on the system or equipment that the hoses are connected to and check for any leaks or issues. Look for any signs of water or air leakage around the fittings or along the hoses.
If you notice any leaks, turn off the system immediately and inspect the fittings and the hoses. Check the tightness of the hose clamps and make sure the glue joints are properly sealed. If necessary, apply more glue or tighten the clamps to fix the leaks.
Tips for a Successful Installation
- Read the manufacturer's instructions: Before you start the installation process, make sure you read the manufacturer's instructions for the PVC hoses and fittings. This will ensure that you use the right tools and materials and follow the correct installation procedures.
- Use the right size fittings: Make sure you select the right size fittings that match the size of your PVC hoses. Using the wrong size fittings can result in leaks or poor performance.
- Clean the surfaces: Before applying the glue, make sure you clean the surfaces of the hoses and the fittings to remove any dirt, debris, or grease. This will ensure a good seal between the fittings and the hoses.
- Work in a well-ventilated area: PVC glue can emit strong fumes, so it's important to work in a well-ventilated area. Open windows and doors or use a fan to circulate the air.
- Allow the glue to dry completely: After applying the glue, allow it to dry completely before using the hoses. This will ensure that the glue joints are strong and durable.
Conclusion
Installing PVC hose fittings may seem like a daunting task, but with the right tools, materials, and knowledge, it can be a relatively simple process. By following the steps outlined in this blog post and using the tips provided, you can ensure a successful installation and avoid any leaks or issues.
If you have any questions or need further assistance with installing PVC hose fittings, or if you're interested in purchasing high-quality PVC hoses and fittings, feel free to reach out to us. We're here to help you find the right solutions for your needs and ensure that you get the best performance from your PVC hoses.
References
- PVC Fittings Installation Guide. (n.d.). Retrieved from various PVC fitting manufacturers' websites.
- DIY PVC Hose Installation Tips. (n.d.). Retrieved from online DIY forums and home improvement websites.